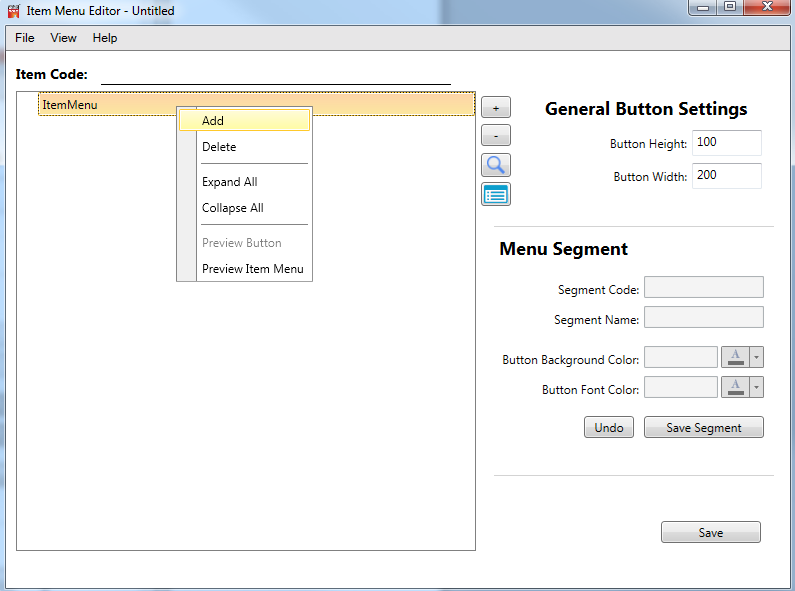
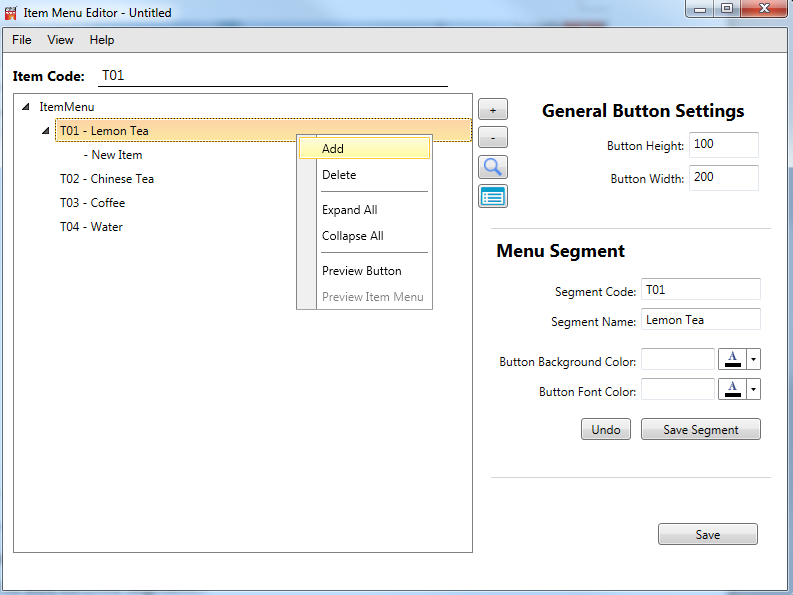
1. Right click “ItemMenu” in the Root level of the tree view, and then click “Add” to create new menu segment:
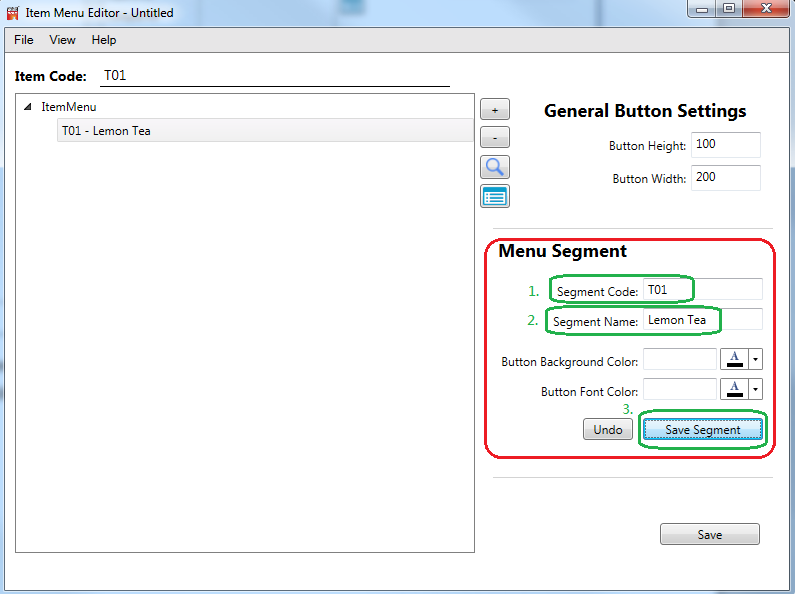
2. In the section of “Menu Segment”, input the Segment Code and Name for this new added Segment, and then click “Save Segment”.
* To let your buttons with Colour different, you can read Colourful Buttons Settings
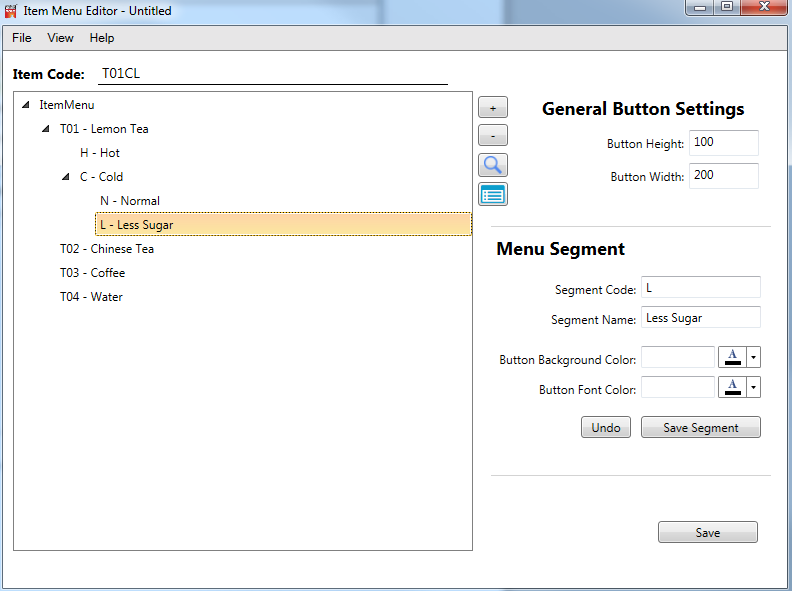
3. When you have completed the first level of the Menu, you can right click selected segment to add its child segment:
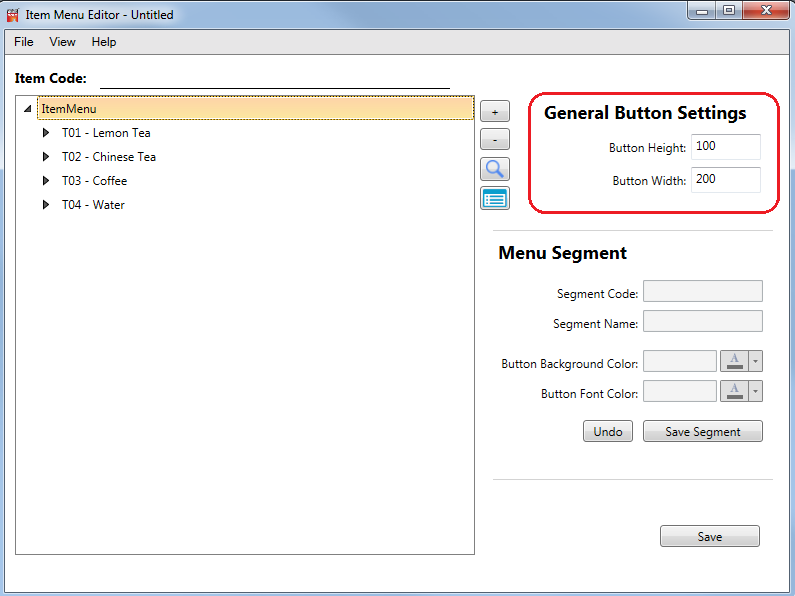
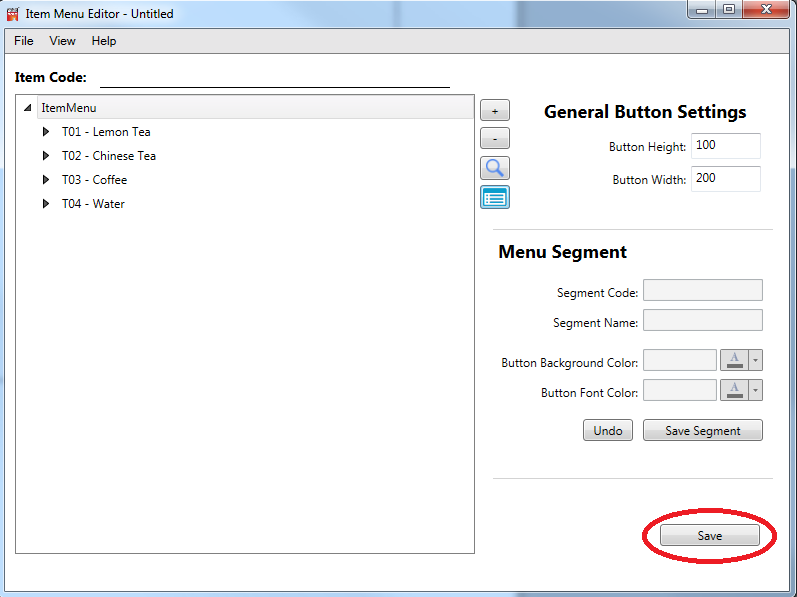
4. When you have completed all the Menu segments, you can define the general size of Menu Button:
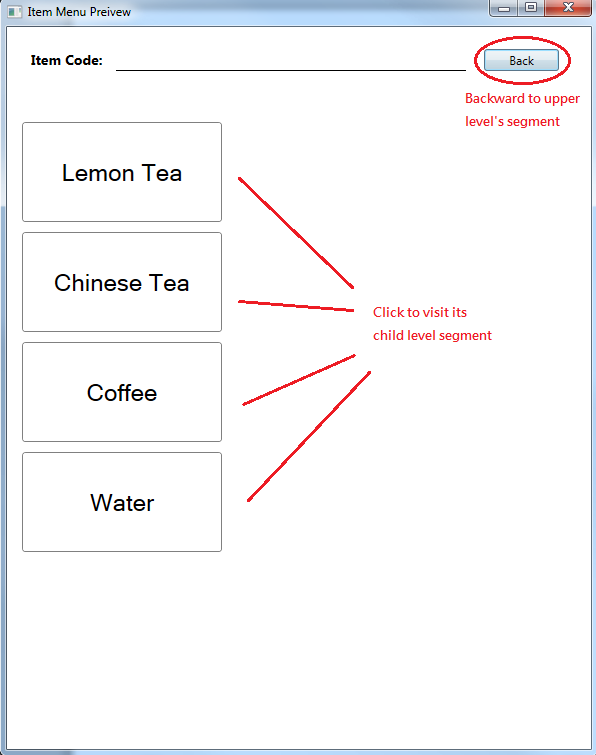
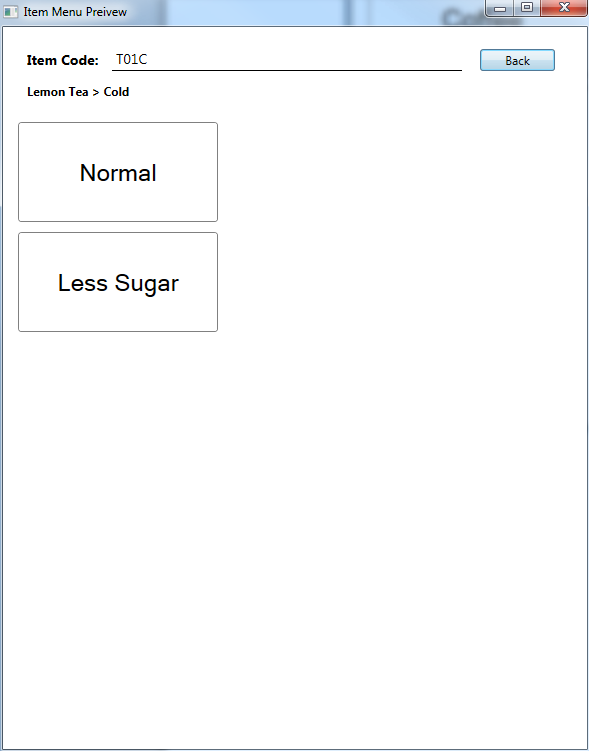
5. Preview your Item Menu by right click the “ItemMenu” in the root level of the tree view, and then click “Preview Item Menu”:
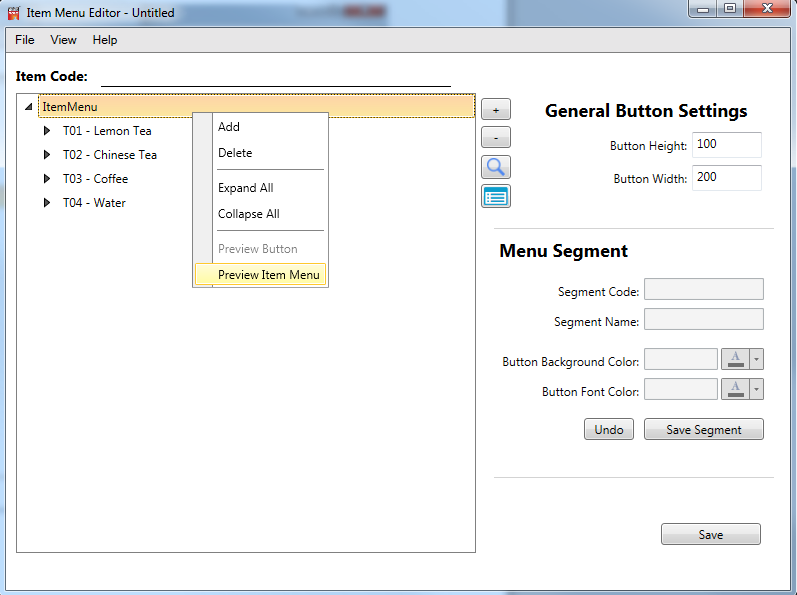
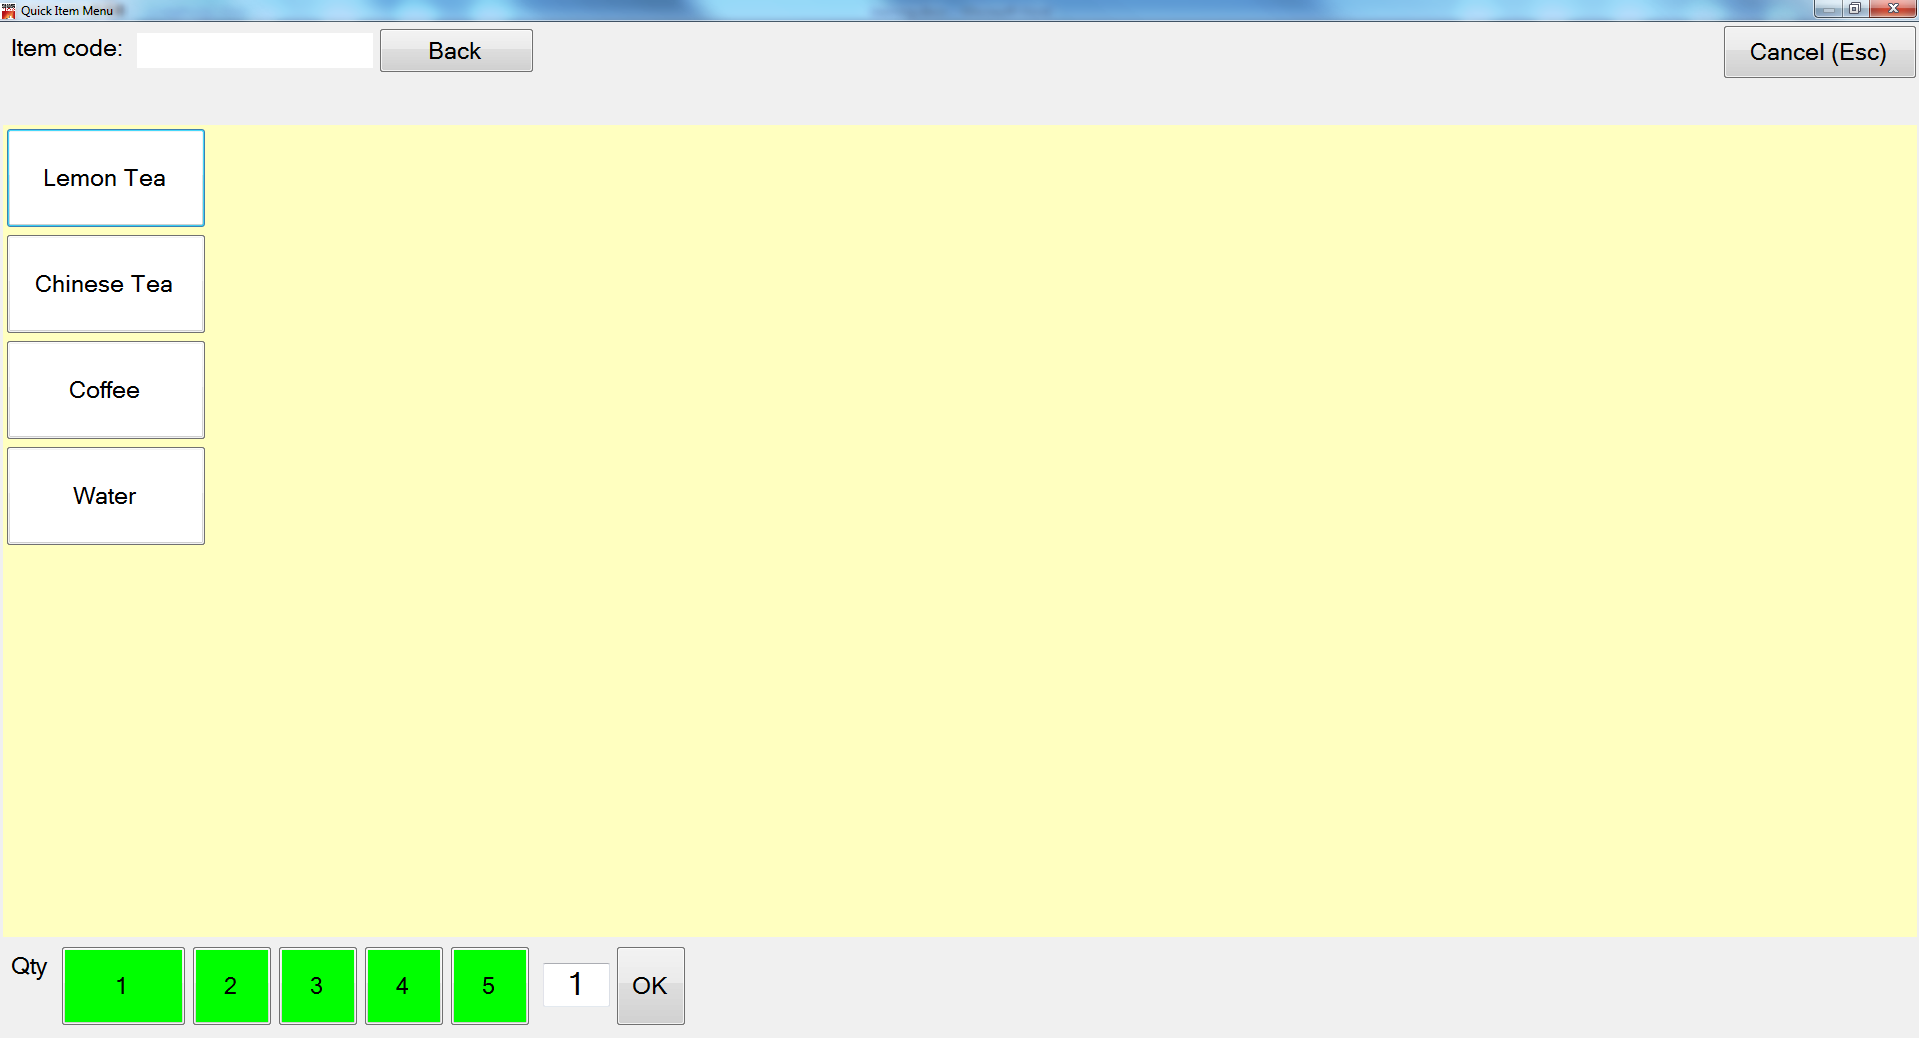
6. The Item Menu Preview Screen simulates the view of Item Menu in POS Quick Item Menu. You can click each segment button to go through the Item Menu.
7. When you have completed your Item Menu, clicking “Save” Button.
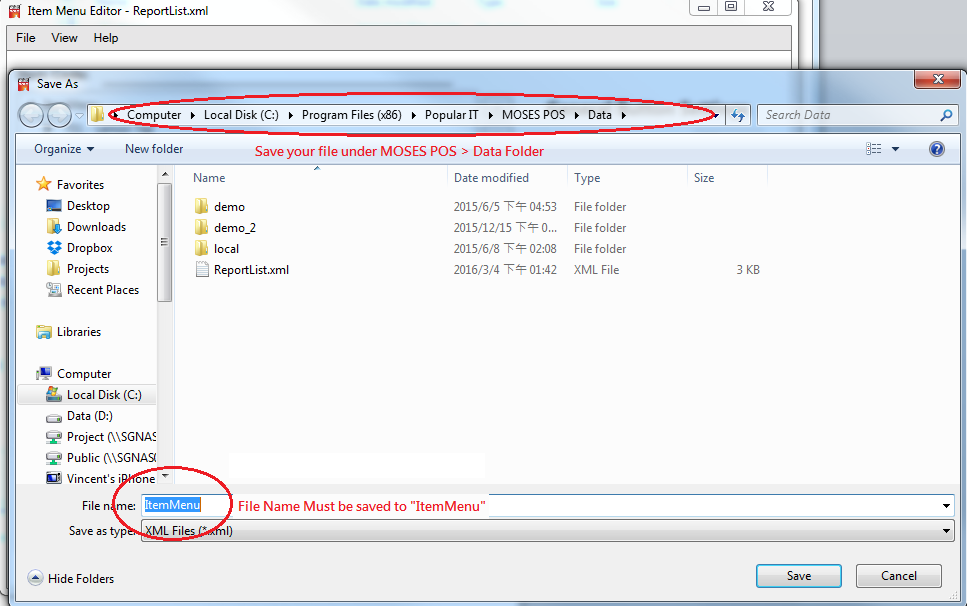
8. Naming your file Name as “ItemMenu”, and then save the file under “Popular IT > MOSES POS > Data” Folder.
(*The File Name & File Location must follow this guide, otherwise, Item Menu cannot be shown in POS)
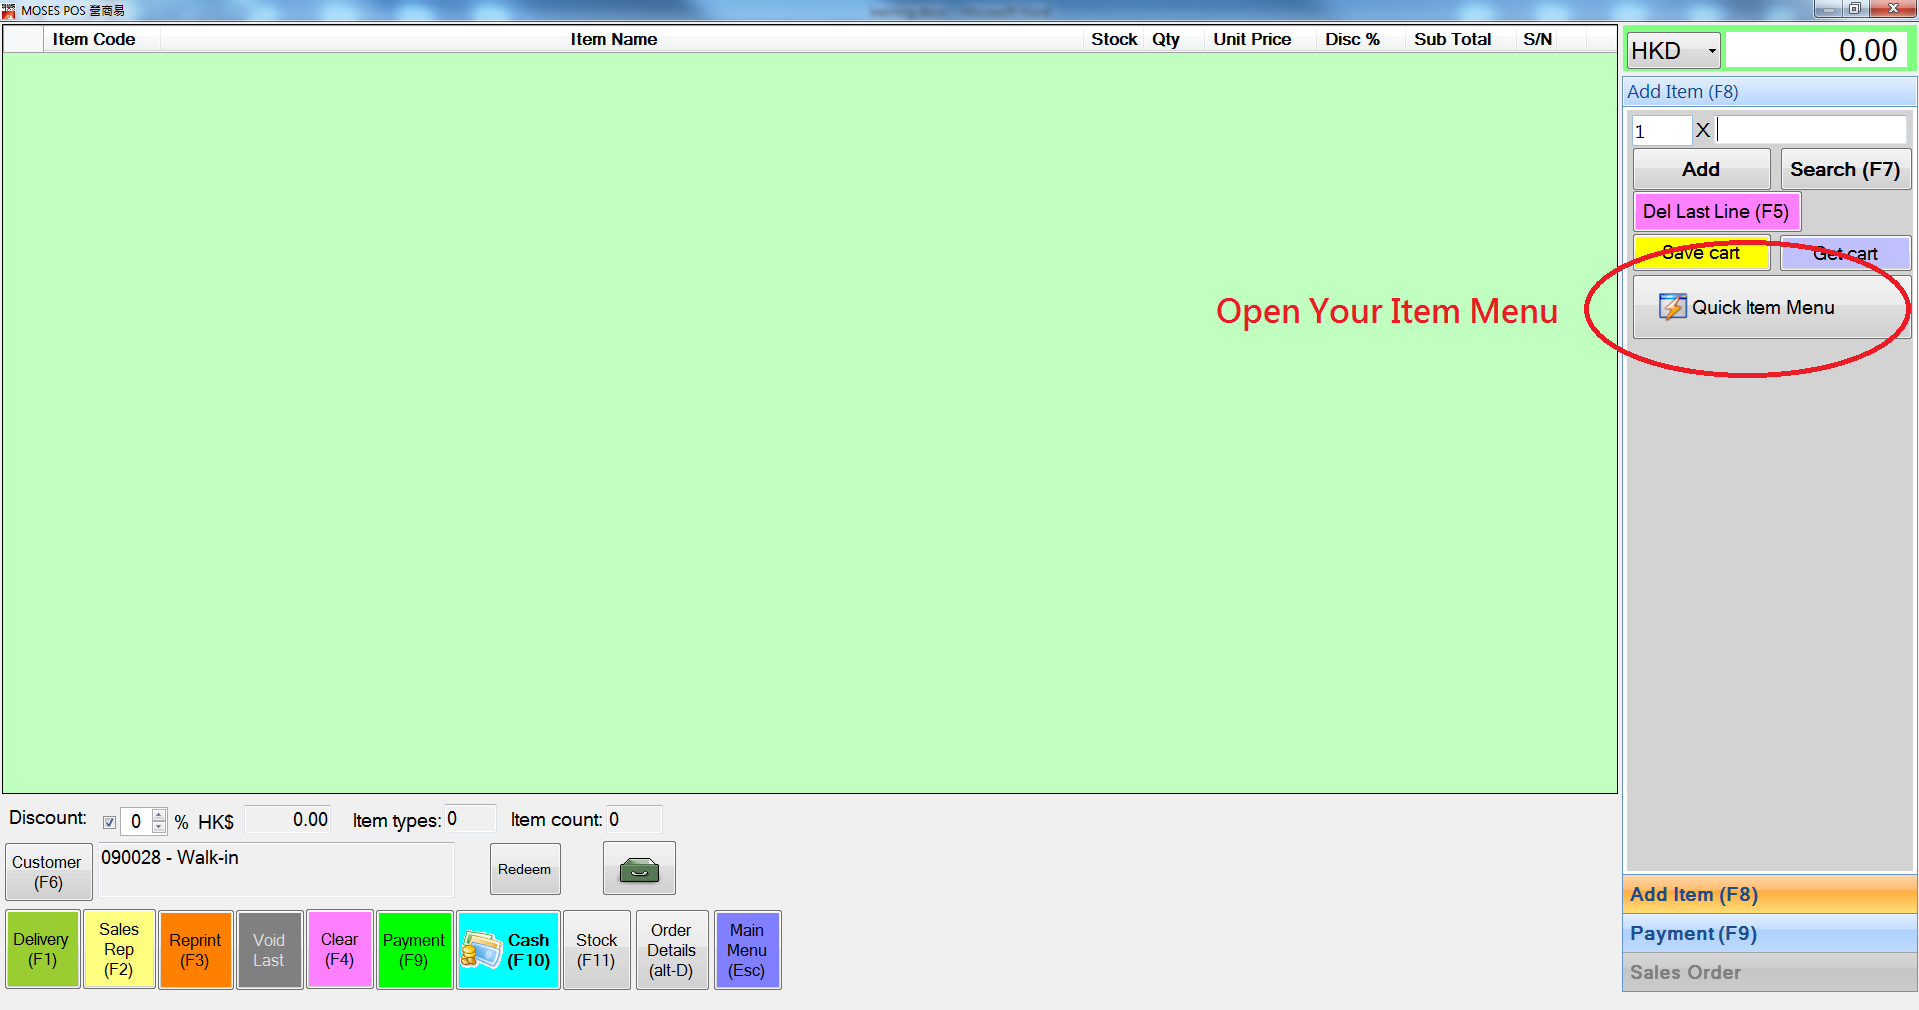
9. Now, you can open your Item Menu in POS (Operation > Sales > Quick Item Menu).